Hunters Prestige
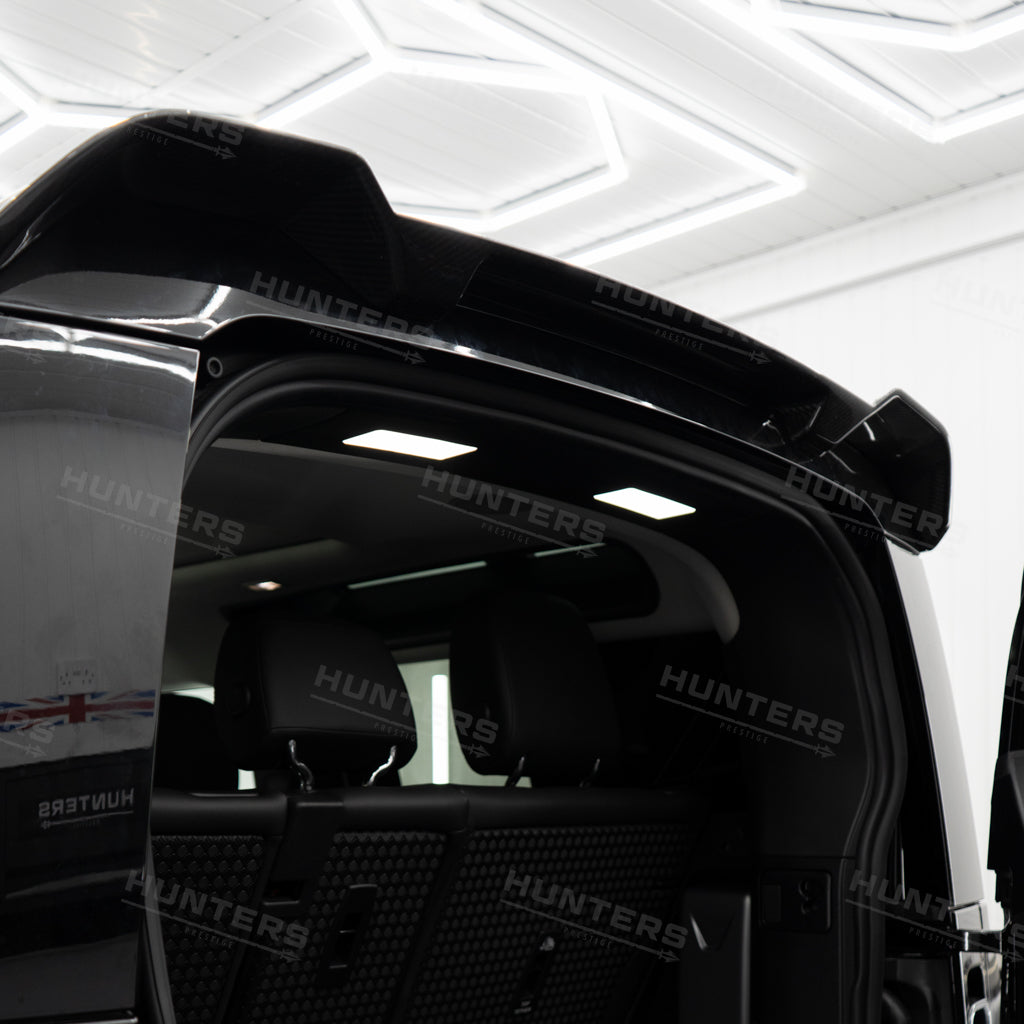
Rear Loadspace LED Lighting V2
Rear Loadspace LED Lighting V2
Interested in getting this fitted at our HQ?
Couldn't load pickup availability
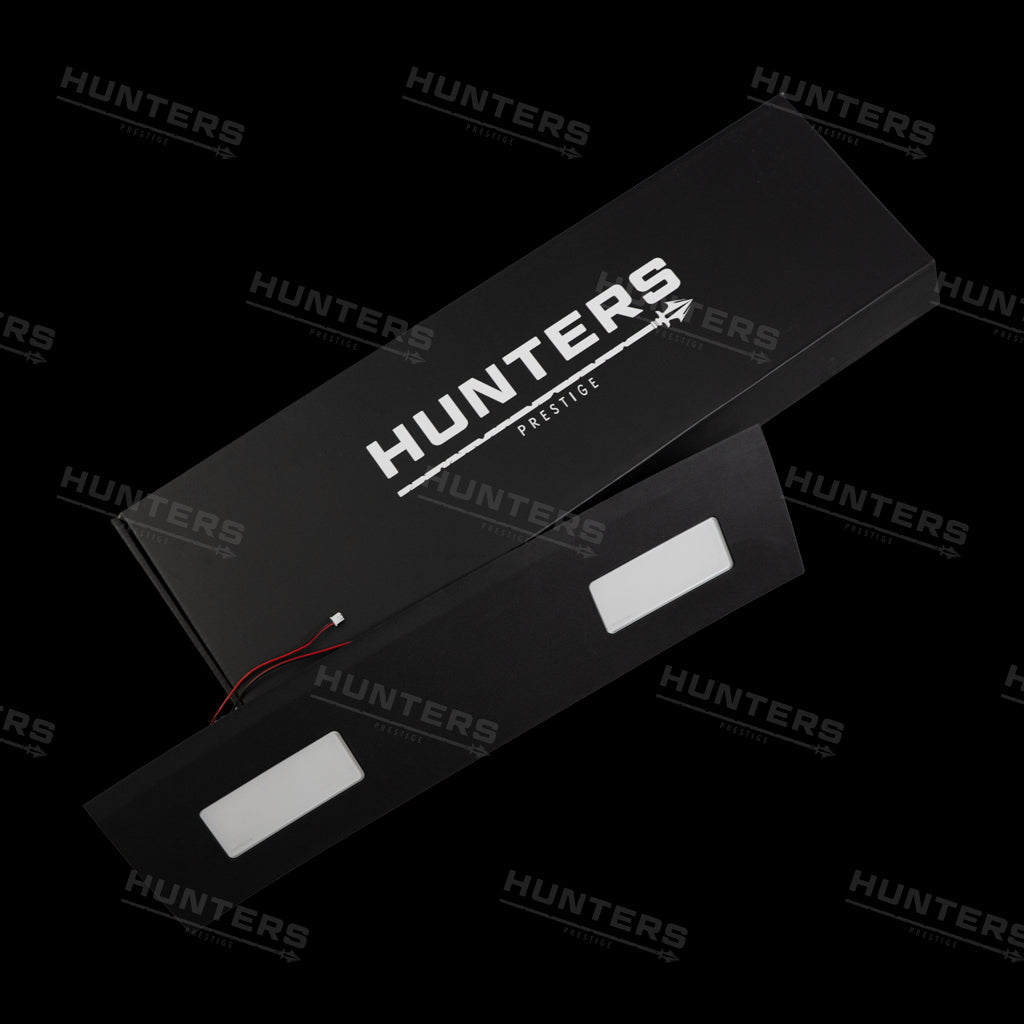
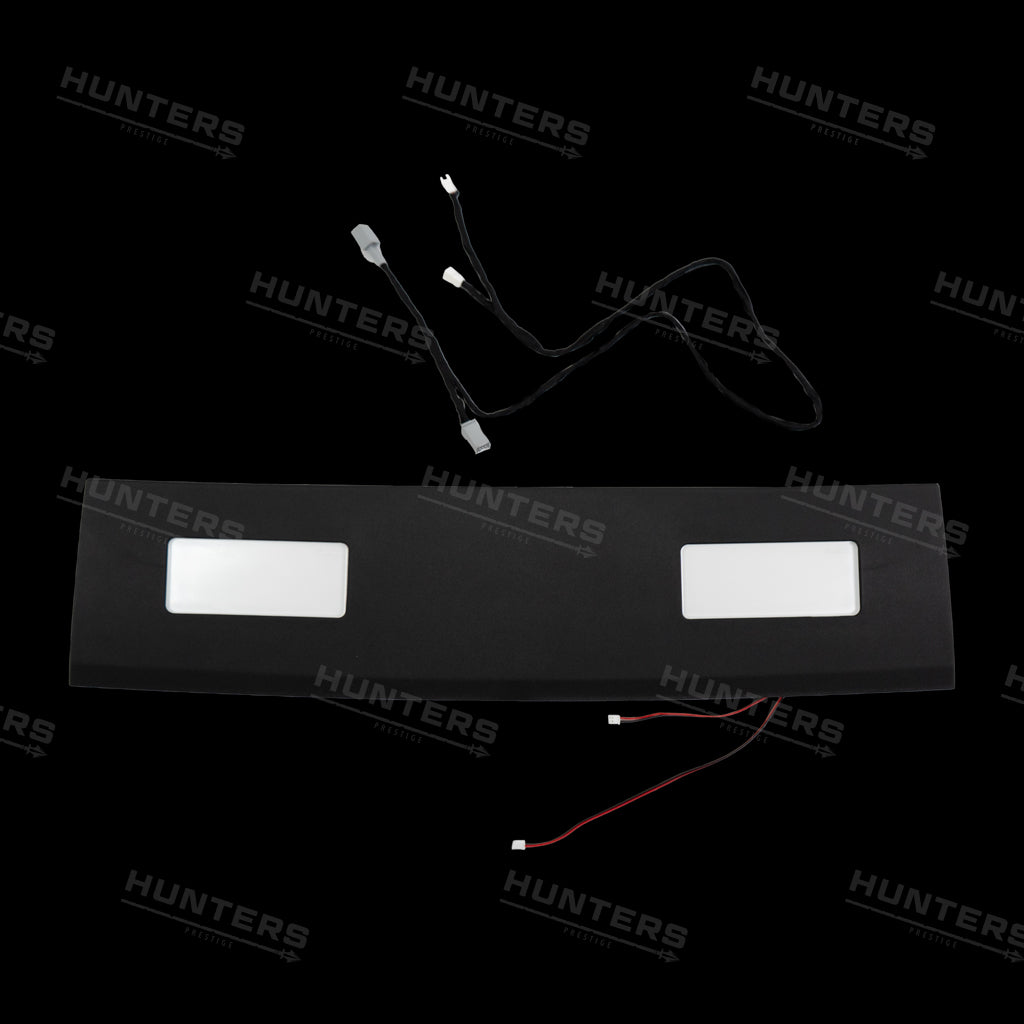
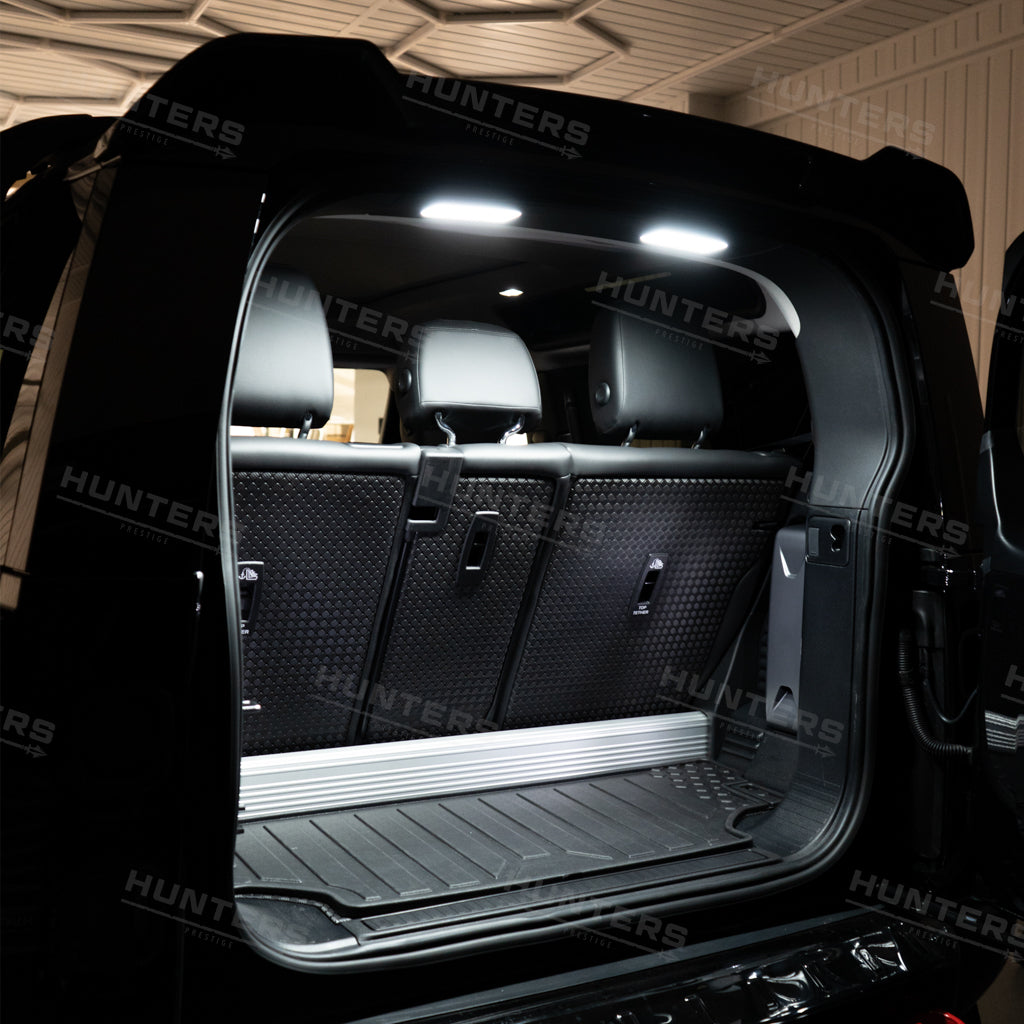
This listing is for version 2 rear loadspace overhead LED roof light for the Land Rover New Defender 2020+
Key Features:
-
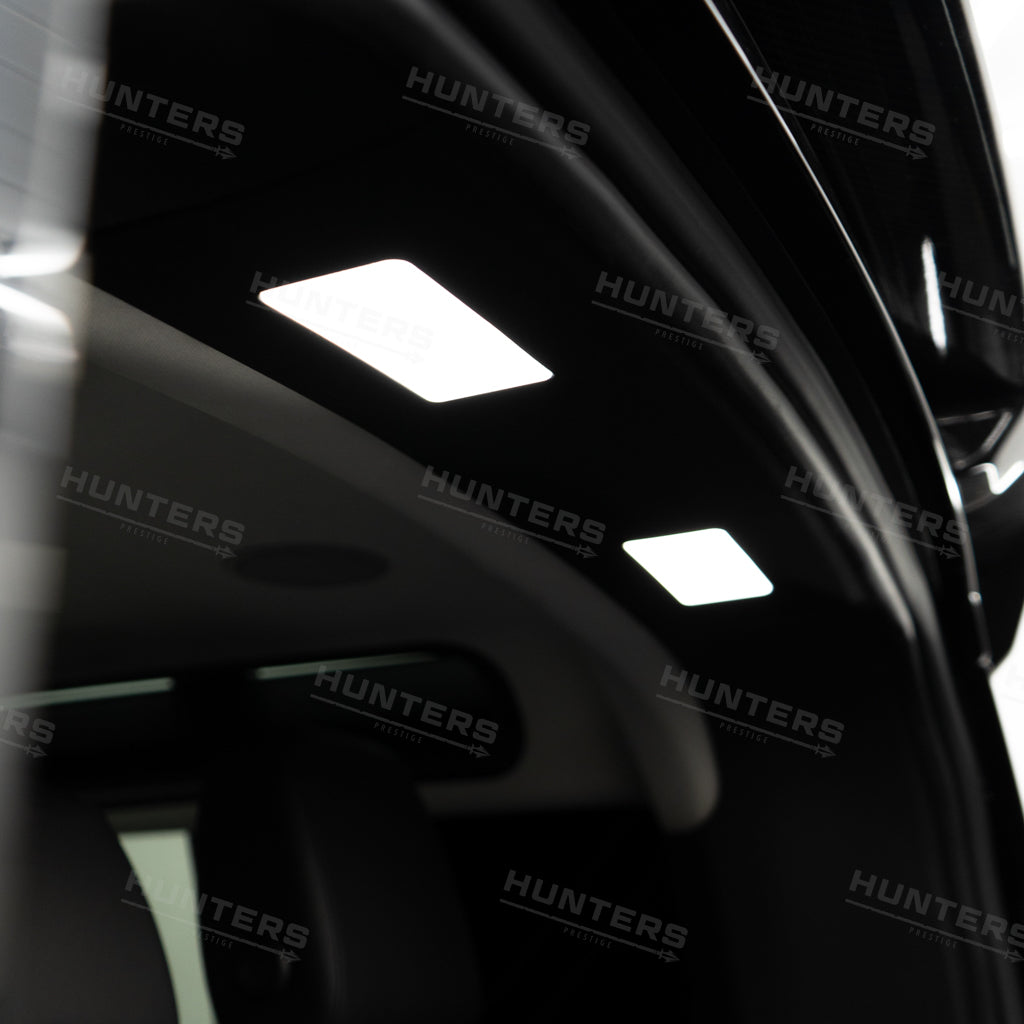
Enhanced Visibility: Illuminate the area behind your vehicle with powerful, bright LED lights.
-
Sleek Aesthetics: Beyond its functional benefits, our rear boot LED light adds a touch of sophistication to your vehicle's rear profile. The sleek design seamlessly integrates into your car's aesthetics, giving it a modern OEM look that you will not notice it's an add-on.
-
Easy Installation: Installing the Rear Boot LED Light is hassle-free and doesn't require any special tools or technical expertise. Our user-friendly design ensures a straightforward installation process. The lamp comes pre-wired with specially designed plug-and-play loom
-
Energy Efficient: Crafted using advanced LED technology, our rear boot light consumes minimal energy while delivering maximum brightness. This ensures long-lasting performance and reduces strain on your vehicle's electrical system.
-
Weather Resistant: Built to withstand various weather conditions, our Rear Boot LED Light is water-resistant and durable, making it a reliable companion for your journeys, no matter the environment.
-
Universal Fit: Designed to be compatible with a wide range of new defender models, our Rear Boot LED Light is versatile and can easily be integrated into all new defender variants.
You can find a fitting video of this product here.
Defender Rear Loadspace LED Lighting-V2
My cargo space was, needless to say, very dark; I found the Version 2 LED and thought yeah, that's what I want. It looks great and works great. It was a world of difference when I installed them. GREAT Youtube video (as always) I would certainly recommend to anyone this is a must have. I say it's in my top 5 of all the mods I Have done so far.
Another quality product from HP. Great price and fast shipping to the USA. Wow does it make a BIG difference in lighting up the rear luggage space, while the fit and finish make it look OEM. After watching the installation video, I had it installed in fifteen minutes. Thank you Hunters!
Easy to use
Brilliant, now I can see in my loadspace at night !

